When it’s time to replace a deadbolt, many homeowners wish they could remove it all by themselves.
Unfortunately, some end up hiring a locksmith.
The truth is that it’s a straightforward process and requires a few tools you probably already have at home.
The real challenge, though, is when your deadbolt doesn’t seem to have screws.
Read on to learn how to remove a deadbolt lock that has no screws.
Are There Deadbolt With No Screws?
Before we proceed, you should know one thing: All deadbolts have screws.
It’s just that some models have metal coverings that conceal the mounting screws.
Manufacturers purposely do it not only for aesthetics but also as an added security feature.
With the screws concealed, it will be difficult and time-consuming for burglars to unlock a deadbolt.
That said, if you’re using a deadbolt with “no screws,” you’ve made the right decision.
The only downside of deadbolts with concealed screws is that they are a little challenging to deal with when it’s time to be replaced.
That’s why some basic understanding of how deadbolt locks work is important.
Deadbolt locks come in different styles and finishes. However, almost all types are held by two screws on each side of the door.
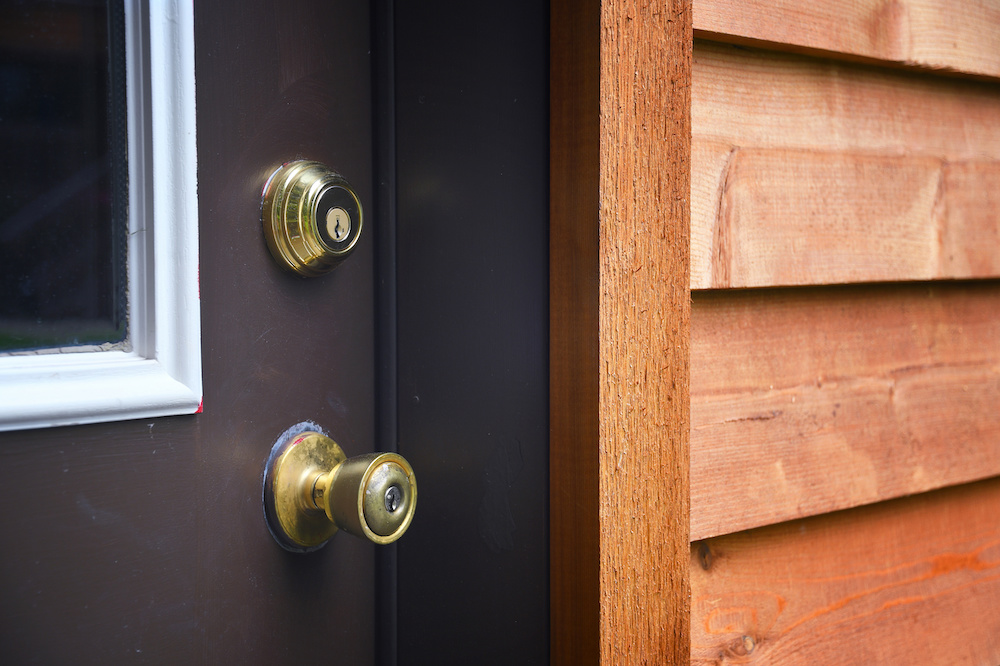
Most deadbolts come with a base plate or “decorative plate,” which covers the mounting screws.
If you need to remove a deadbolt from your door but can’t seem to find the mounting screws, there’s a big chance that they are behind the decorative plate.
How To Remove a Deadbolt Lock That Has No Screws: Step-by-Step
Below are the steps to remove a deadbolt with concealed screws:
Step 1: Gather Your Tools
To remove a deadbolt from your door, you will need a few tools.
It’s best to prepare them beforehand so that you can just quickly and conveniently uninstall the deadbolt.
You will need a Phillips-head screwdriver, a flat-head screwdriver, and an awl that has a sharp edge or point.
If you don’t have an awl, a paperclip will do.
Don’t forget to get a small box or container where you can place the dissembled parts of your deadbolt, including the screws.
Unless you don’t intend to use them again, you certainly don’t want to lose a thing.
Step 2: Remove the Deadbolt Thumb Latch
The first step involves unlatching the turnkey of your deadbolt lock.
If you don’t know what that is, it is the oval or crescent-shaped knob that lets you lock or unlock the door.
Stand in front of the deadbolt chassis on the inside part of your home. Next, look for the small hole in the shaft of the thumb-turner.
Using the awl or a paperclip, apply a little bit of pressure into the hole to release the lever.
Step 3: Remove the Base Plate
Once you have released the turnkey, you can now remove the base plate. You will need a flat-head screwdriver for this.
Examine the plate with your fingers and locate a small notch along the rim.
Next, gently pry the base plate off of the chassis.
Once you remove the plate, the mounted screws will be visible. Keep the base plate aside.
Step 4: Unscrew the Deadbolt
At this point, removing the deadbolt will be similar to how most deadbolt locks are removed.
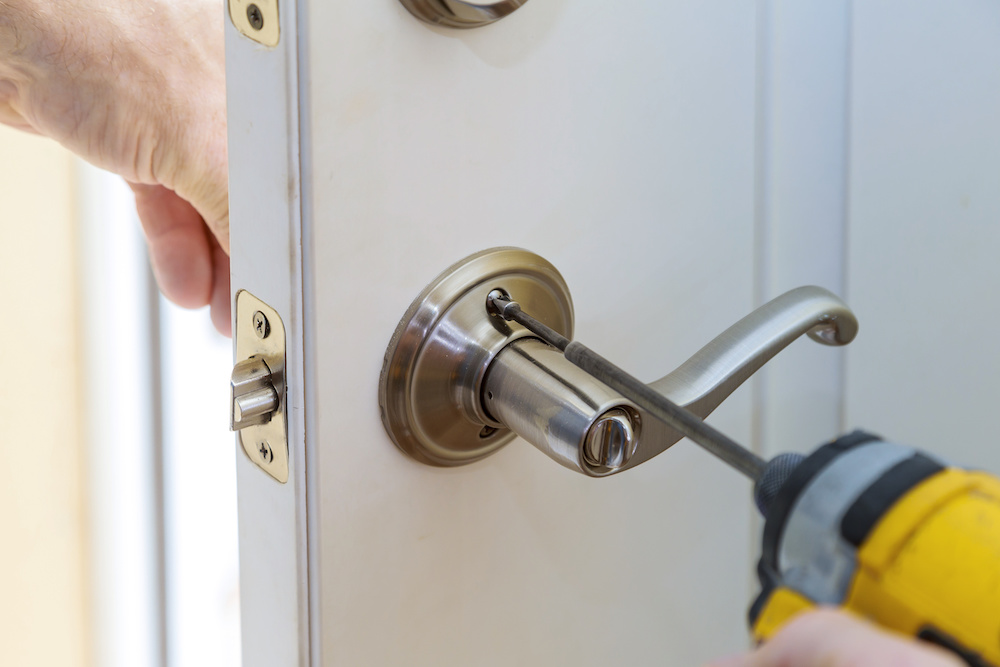
Using a Phillips-head screwdriver, uninstall the mounting screws. Usually, deadbolt locks come with two screws.
Once unscrewed, gently remove both the chassis inside and outside the door with your two hands.
Pull the two halves of the deadbolt apart to remove them.
Step 5: Unscrew the Latch
After removing the chassis, you can now open your door to unscrew the latch on the edge of the door.
Locate the two screws that secure the latch mechanisms using your Phillips-head screwdriver.
Then, set all the pieces aside and place them in a box or container to make reinstallation easier.
There are usually two screws on the door edge: one above and another below the deadbolt.
In most cases, the set plate and the deadbolt come in one piece that you can just pull out together.
Other times, you may need to remove the plate first before you can slide out the deadbolt.
By following these removal steps perfectly, you will be able to remove your deadbolt lock perfectly.
When To Replace a Deadbolt
It is not enough to learn how to remove a deadbolt lock that has no screws. You must also be able to figure out when to do it.
Deadbolts are designed to stand the test of time. However, there will always be a point when you have to replace them.
Below are the instances when you should replace your deadbolt:
When it’s not functioning the way it should
Door locks are prone to wear and tear.
Most experts agree that the average lifespan of a deadbolt lock is about seven years.
If your door lock has been around for quite some time now, you should consider replacing it.
Everything from rust and tarnish to corrosion can get in the way and make it difficult to operate a deadbolt.
If your deadbolt lock starts malfunctioning, you should replace your unit as soon as possible.
Additionally, when the pins and tumblers get damaged, you should consider replacing your deadbolt.
If a break-in transpires
Excessive damage to locks caused by forced entry can severely impact a deadbolt’s integrity.
In turn, this puts you at a higher risk of another intrusion.
Also, malfunctioning locks can leave you stranded inside or outside your home.
When your keys are lost and stolen
Most homeowners rely on deadbolts as an additional source of security against intrusions and robberies.
If you happen to lose or misplace your keys, you should replace your deadbolt lock right away.
Conclusion
Deadbolt locks vary in styles and designs. Often, they have a plated base or cover to conceal the mounted screws.
If your deadbolt appears to have no screws, the first step is to remove the decorative plate.
Removing the plate will expose the two mounted screws that secure the deadbolt lock on your door.
From there, you can remove the deadbolt normally.
Make sure to follow each step carefully to ensure no parts will be damaged if you plan to reinstall your lock.


